MathMonster
MathMonster was inspired by the desire to help elementary school students who are struggling with basic arithmetic. We recognized the frustration and overwhelming feelings these students experience, despite the best efforts made by their teachers. Seeing this issue in our community motivated us to create a better learning experience for foundational skills. We hope that our product will provide an alternative approach for those who find the current curriculum insufficient, and ultimately help them succeed in their math studies.
The overall design of MathMonster consists of a (12.75 x 12.75 x 2) in wooden board with recessed slots, where interchangeable tiles may be picked up and placed into each of the corresponding holes found on the front of the board. The tiles are numbered from 0 to 9, with each color corresponding to a distinct numerical value, so as to minimize the confusion for both the students and the color sensors. Each hole has a color sensor embedded underneath a layer of acrylic so that they may properly register what color the sensor is seeing and send the signal to the Arduino to process the input values. Once the color sensor reads the values it can then perform the specified mathematical equation to indicate to the student if they have made a correct statement. To do so they would need to click the submit button in the top lefthand corner and the light bar, found underneath the second row would shine red, indicating wrong, or green indicating correct.

The Prototyping Process
In order to refine and improve our design, we developed three prototypes. The initial two prototypes were created to bring our concept into a physical form, thereby allowing us to better comprehend how the product would look, feel, and function. Through this process, we gained valuable insight into the various aspects of the math board, such as its size, weight, and tactile properties. Additionally, these prototypes provided us the opportunity to assess the feasibility of our original concept and identify areas for further refinement. The third and final prototype was designed to test the functionality of the electrical system, accuracy of the color sensors, and the spacing of the housing components that would be integrated into the final product. This prototype gave us insight into the technical aspects of the design, including the accuracy of the sensors, the durability of the housing, and the efficiency of the electrical system. Through this process, we were able to identify and learn from both the areas of success and failure, ensuring that the final product would meet the necessary technical specifications and perform optimally.


Attachable Components
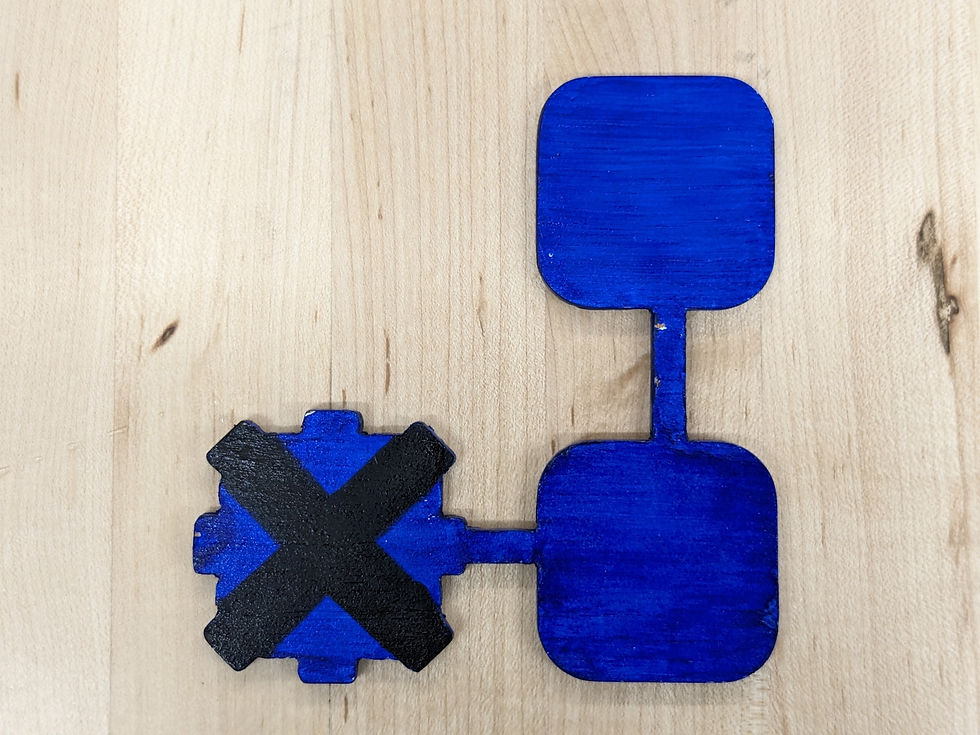
The tiles were painted and sealed to ensure their longevity and visual appeal. The process started with a layer of white primer, a base coat used to prepare the surface for painting. This layer helps the acrylic paint to adhere better and creates a uniform base color. Next, a base coat of colored acrylic paint was applied to give the tiles the desired color. This type of paint dries quickly and is durable, making it ideal for painting surfaces like tiles.
After the colored paint had dried, the tiles were lettered in black, allowing for customization with letters or numbers. To provide a protective layer and prevent the paint from chipping or fading over time, a clear sealant was then applied. This sealant also gives the tiles a glossy finish, making them look clean and polished.
Overall, the process of priming, painting, lettering, and sealing the tiles results in tiles that not only look good, but are also durable and long-lasting.


Electrical Components
Our team has made significant progress on the electrical components for the project. We have successfully soldered the eleven color sensors and connected them to the Arduino microcontroller's 5V power source. In addition, we have connected the LEDs, submit button, and ON/OFF switch to a separate power source consisting of two sets of three triple A batteries wired in parallel. This configuration provides a total of six triple A batteries, ensuring a stable and consistent power supply for all components. To attach the eleven color sensors to the board, we used two three-sixteenth inch screws diagonal to each other. The wiring involved soldering the VCC, GND, S0, S1, S2, and S3 pins of each sensor into one individual wire and running it to the associated pin. The output for each sensor was kept separate. The final circuit design comprises wires from the color sensors and four LEDs (two red, two green) running to the Arduino, powered by two battery packs (of three triple A batteries) in parallel. The batteries also connect to two buttons (power and submit). Overall, by connecting these components to reliable power sources and using careful wiring techniques, we can ensure that our project will be powered effectively.

Wiring for Color Sensor

Color Sensor (TCS3200)

Wiring for Button
Final Product
Overall, MathMonster provides an enjoyable and interactive way for elementary-aged students to improve their math skills. Incorporated into the board's circuit design are eleven color sensors and an Arduino Uno, which allows the system to accurately recognize and evaluate equations created by the user. The face of the board includes recessed slots, where colored tiles can be easily arranged to form new combinations of numbers, providing a more intuitive and interactive learning experience. These sensors are specifically designed to detect the associated numerical values represented by the color of the tile, which are placed into the slots on the top layer of the board. Once the user has built an equation, the student will push the submit button on the top left-hand side of the board. The light bar will shine green or red depending on if they have inserted a correct answer or not. This innovative feature enables the board to determine the accuracy of the equation and instantly provide feedback to the user. By using physical tiles and visual feedback, students can create and solve equations while receiving immediate feedback on their accuracy. Moreover, the product is designed to reinforce the user’s understanding of addition, subtraction, multiplication, and division.


Future Considerations
After receiving feedback from our usability testing, we compiled a list of suggestions to implement in future iterations of MathMonster:
To promote ease of use and convenience, we would create a simple way to store the tiles and ensure they have smoother entrances into the slots. One way to accomplish this would be to lengthen the radius of the semi-circle cutouts to provide a larger area to remove the pieces. Furthermore, adjusting their positioning to the upper-right corners, since the majority of individuals are right-handed and prefer to use their dominant hand.
We noticed that most of our target users attempted to compute math horizontally, rather than vertically. In future models, design cues should be incorporated to make the vertical orientation of equations easier to understand.
To enhance the overall appearance of the board and physical feel, we would round the base to allow for smoother edges on the bottom. To ensure the color scheme is friendly to all users, the tiles would have to be adjusted so that colors of similar shades would be replaced with new and discernable ones. This would ensure less confusion from younger users who are learning colors. Recommendations for the numbers associated with each color were provided, such as ordering them in relation to competition ranking, the color wheel, or the rainbow as potential options for the final color scheme.


Take Aways
Through the process of making MathMonster I strengthened my soldering skills. The most impactful thing I have learned through this experience is the importance of having patience when in placed in inopportune situations.
